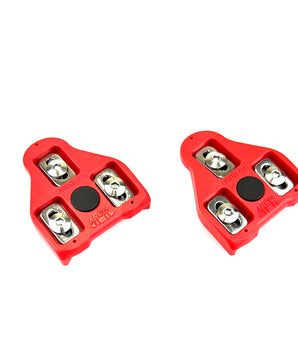
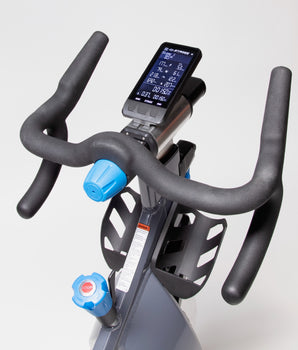
Indoor cycling is all about pushing your limits, but there's one limit you should never test: your safety. When it comes to replacing indoor cycle pedals, it's not just about twisting and turning. There's a logic to it, and understanding the ins and outs of pedal threading can save you from potential mishaps. So, let's dive into the world of indoor cycle pedal threading and uncover the crucial details you need to know.
The Unusual Twist: Righty Tighty, Lefty Loosey Doesn't Apply Here
You've probably heard the age-old adage, "Righty tighty, lefty loosey," but here's where indoor cycling pedals throws you a curveball. The left side pedal is reverse-threaded, meaning the traditional rule no longer applies. Attempting to use this rule on the left pedal can lead to trouble and frustration. Why the reverse threading? It's all about ensuring that your pedals stay securely attached, even during the most intense cycling sessions.
Safety First: Protect Your Fingers
One critical aspect of indoor cycle pedal replacement often overlooked is safety. Commercial indoor cycles boast substantial flywheels, some weighing around 45 lbs, creating a significant amount of inertia when in motion. Never underestimate the potential danger here.
Always keep your fingers on the outside of the pedal and never insert them into the pedal itself to grip it when "pedaling" by hand. The force generated by the spinning flywheel can cause severe injury if your fingers get caught.
Replacing the Right Pedal Unusual Twist:
At Indoor Cycle Pros, we recommend an XL pedal wrench for maximum leverage and torque. Start by securely attaching the pedal wrench to the right pedal and, here's the key, "pedal" by hand forward VERY SLOWLY until the pedal comes out.
Once you've successfully removed the pedal, take a moment to wipe the pedal crank threads clean with a dry shop towel. Now, it's time to introduce a crucial ally: Loctite 243. Shake well and apply a pea-sized amount of this threadlocker to the outer threads of the new pedal. This step ensures a secure fit and prevents any unwanted wobbling during your ride.
The right side pedal is threaded "normally," so carefully thread the new pedal spindle clockwise into the crank arm by hand, making two to three revolutions. Be extremely cautious not to cross-thread the pedal into the pedal arm. Attach the pedal wrench securely and "pedal" by hand backwards VERY SLOWLY. When the pedal "stops," reattach the wrench for better leverage and attempt to turn the crank arms backward another 1/4 turn with the pedal wrench for proper torque.
The Left Pedal: Counterclockwise Wisdom
Now, what about the left pedal? The process is similar, with one notable difference: when threading the new pedal into the left crank arm by hand, the threads are reverse-threaded. To secure the left pedal, you must turn it counterclockwise. Remember, "righty tighty, lefty loosey" doesn't apply here.
Whether you're removing or installing either side pedal, always "pedal" by hand VERY SLOWLYand attentively. When the pedal stops, realign and give it a final torque.
With this knowledge in hand, you're well-equipped to tackle indoor cycle pedal replacement safely and effectively. Good luck, YOU GOT THIS!


